Tag: weaving

  • Weaving a wool blanket to help Raise the Roost!

    Weaving a wool blanket to help Raise the Roost!

    I was so honored to be asked to create a handwoven wool item for the Free Range Food Co-op‘s upcoming Raise the Roost event for their silent auction! It’s July now but winter is always around the corner in MN, so I thought a comfy wool blanket would be just the thing.

    Here are some photos and details of the process with some weaverly and non-weaverly terms thrown in for anyone who might be reading… and lots of photos too!
    Step 1: Sampling!

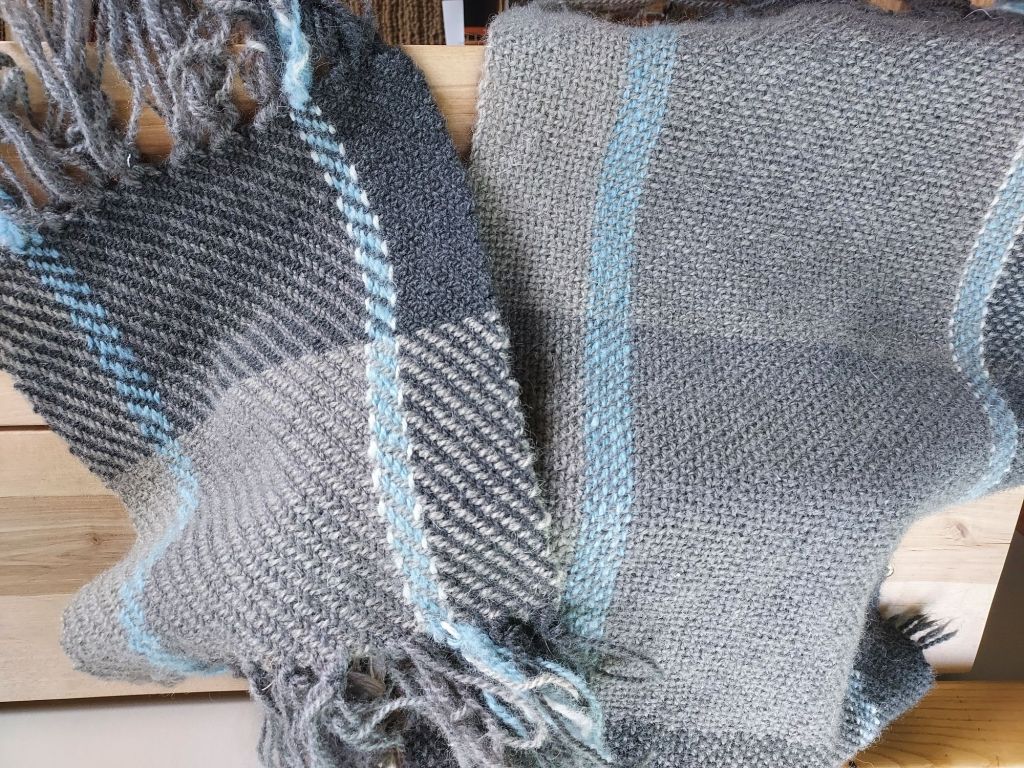
    Some weavers love sampling, some hate it with a passion. I’m somewhere in the middle. This time I sampled to see if I liked the plain weave (on the right) or the twill pattern (on the left). The plain weave has 6 epi and 6 ppi, or 6 yarns per inch of weaving in both directions, going over/under in the most basic weave structure. The twill is at 8epi/10 ppi and is a 2-2 twill going over 2 yarns and under 2 as it moves across the warp. I chose the twill option for the blanket.

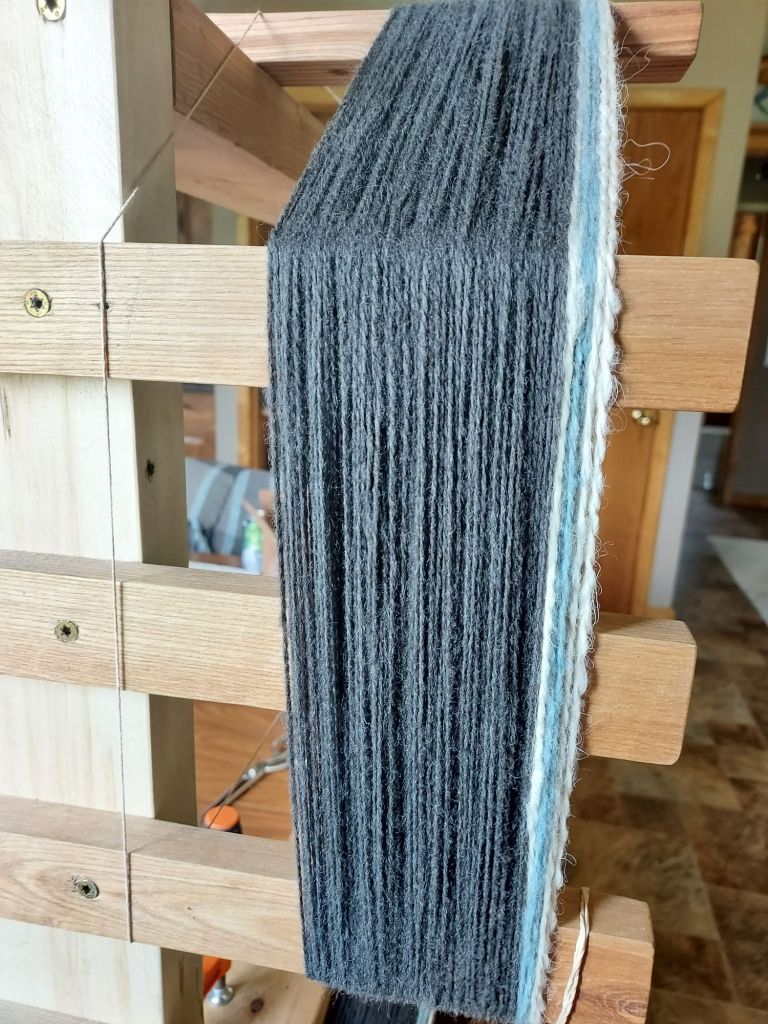
    Step 2 is to wind the warp yarns (the ones that stay under tension on the loom). They were wound on the warping board at 120″ long in 3 bouts. You can see the bouts on the right which get daisy-chained up to keep them in order once they are done being wound around the pegs on the warping board. I wove this project full width on my loom at 45″ wide so at 8epi there were 360 warp strands total.
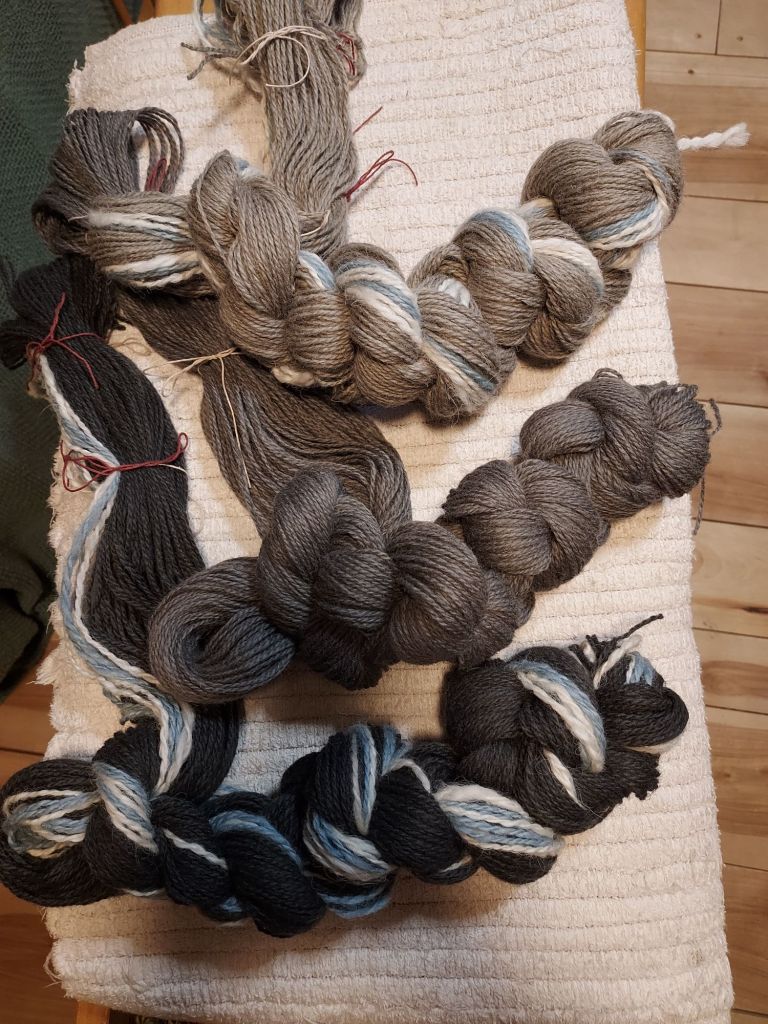
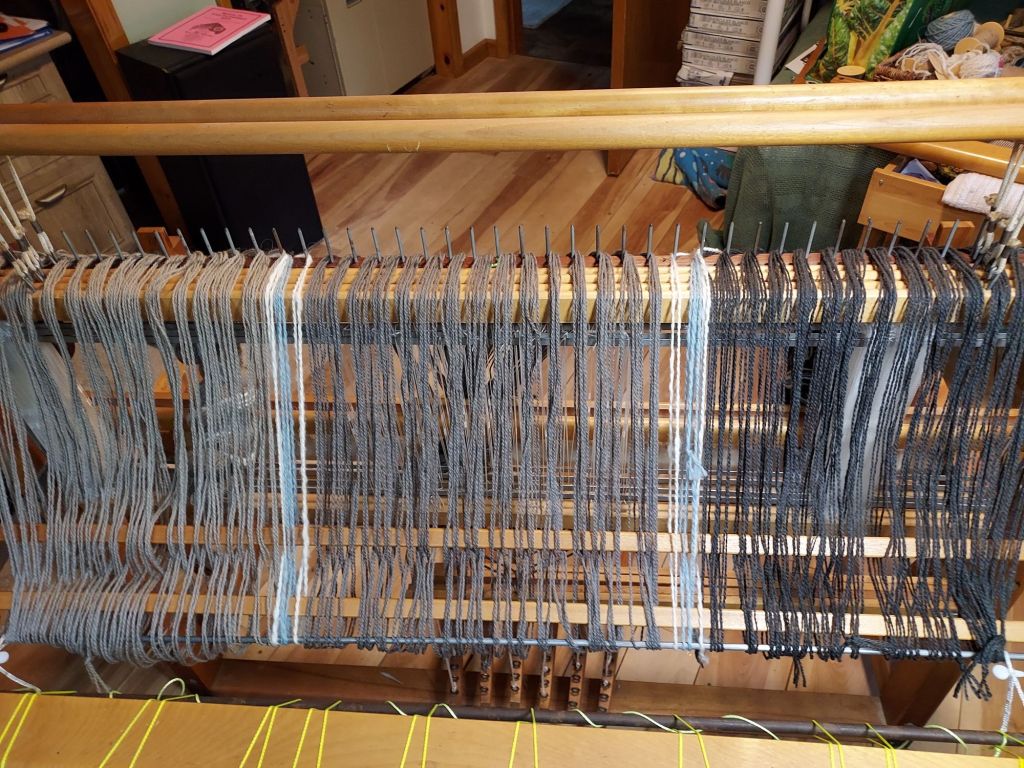
    Step 3 is getting those cute little bundles of yarn onto the loom without them turning into a terrifying tangle. They get spread out in the ‘raddle’ (fancy word for my board with nails in it) to space the yarns out to have 8 strands in every inch. To keep them tidy, I keep each bundle under tension with a stack of books all of roughly the same weight, and as they get wound onto the back beam and the books slide forward on the table, I reset them and wind some more. The picture on the right shows what the yarns look like from the back of the loom all spread out in the raddle, ready to be wound onto the back beam.

    Step 4: Thread the heddles. The heddles are the strings you see the yarns going through, each of them has a little ‘eye’ in the middle that holds the yarn. The photo on the left is from the back of the loom, and the photo on the right is from the front of the loom coming out the other side. When you step on a treadle it will lift the harness according to your pattern, and the heddle brings the appropriate yarns along with it to lift or lower them.

    My loom is a 4 harness loom so there are 4 of the harnesses you can see with the wooden rails going across. Each harness holds heddles that get threaded depending on your pattern. Since this is a simple 2-2 twill, this pattern was threaded 1-2-3-4 with the 1st yarn going through a heddle on the 1st harness, the 2nd yarn on the 2nd harness, 3rd yarn on 3rd harness, 4th on 4th, and then starting back over with harness 1 and doing that over and over for 360 yarns…
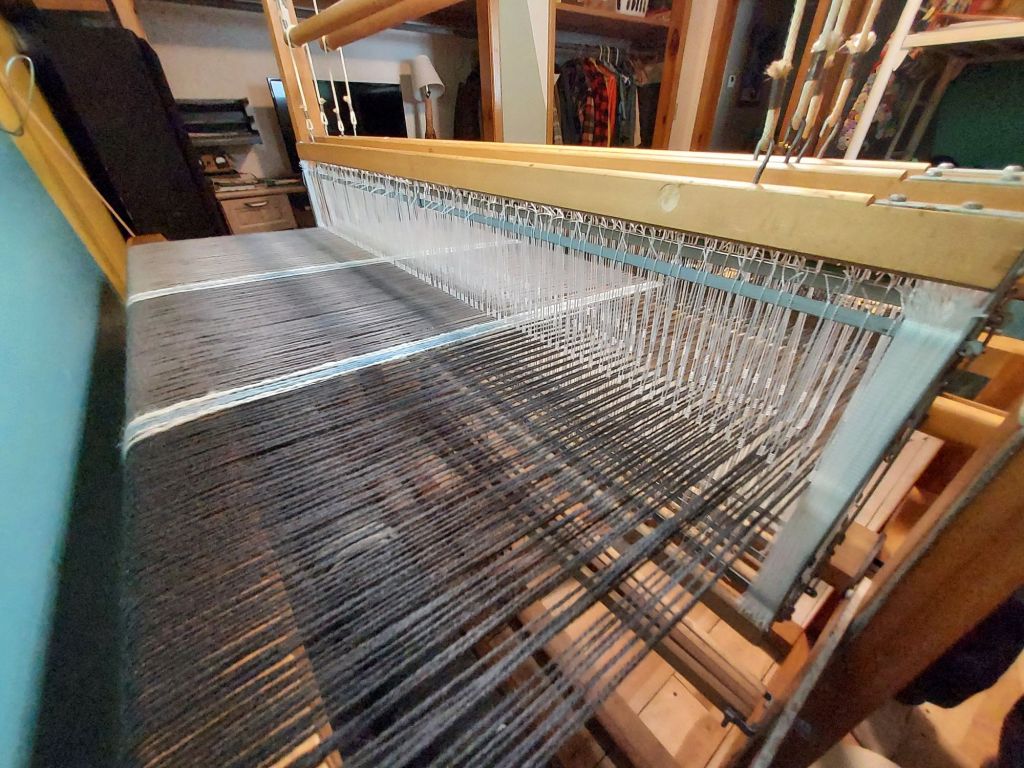
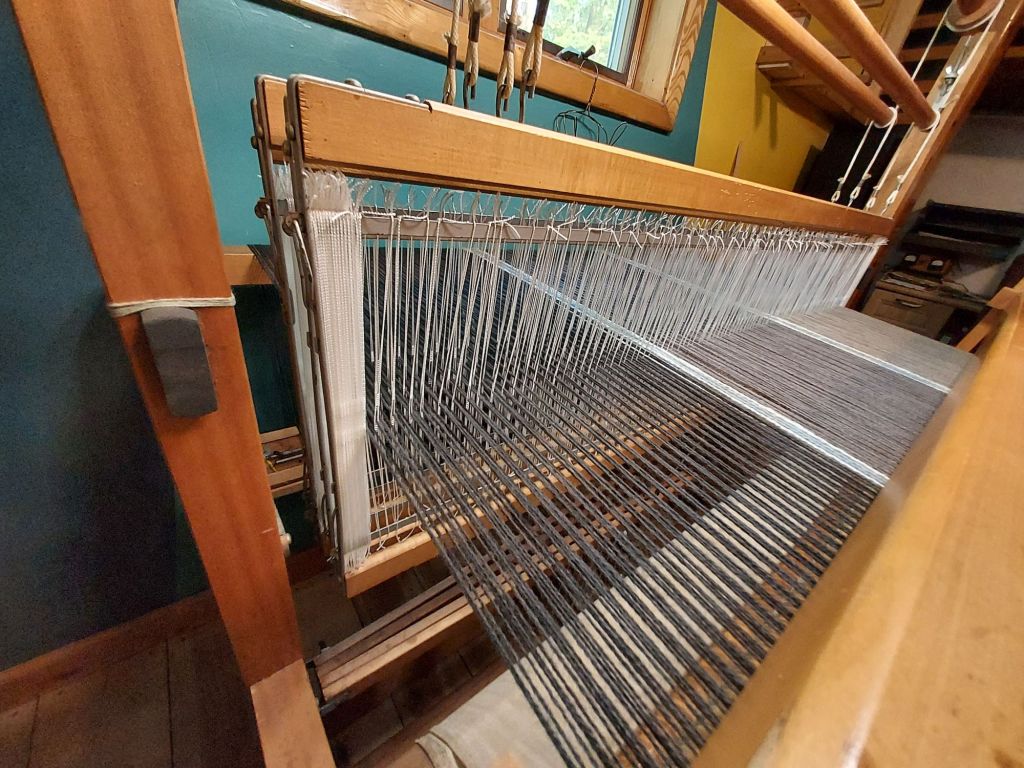
    Step 5: Sleying the reed. No, not ‘slaying’ the reed. The reed is the thing with the metal slots you see near the top in the left photo below. This reed has 6 slots/dents for every inch. Since my yarn is threaded at 8 yarns per inch and I need to fit that into a reed with 6 spaces per inch, I sleyed the reed at 1-1-2-1-1-2. This means I put the yarns through the reed in the same order they were in the heddles but it’s 1 yarn per slot, then 1, then 2 in the same slot and so on. The heddles still dictate the pattern but the reed makes sure the yarns all stay spaced out properly with 8 yarns in every inch.

    In the photo on the right looking from the top down, you can see those 4 harnesses with the heddles, then the wood at the top of the beater that contains the reed which beats the fabric into place. At the bottom edge is where all the warp yarns get tied onto the front beam to get them under tension for easy weaving. The red thread is just spacer yarn to get everything spread back out after bunching the yarns to tie them onto the rod. I’ve already started weaving a little bit in these photos.

    Step 6 is actually weave the whole project but y’all… it’s been a bonkers week and I was doing the weaving mostly in the evenings when my brain was already pretty tired so I simply forgot to take a process video of the actual weaving 😦 But – I did take a video of when I was done weaving and got it unrolled from the front beam to take it off the loom! You get 1 bonus point if you can identify where I let slip that my brain was clearly turned off for the night when I filmed this video, buahaha 😀

    Step 7: Finishing. Oh, finishing a project… why do you always taunt me?!? Sometimes I think if I didn’t have external deadlines for stuff I would never actually finish the weavings I make. Twisting fringes is easier with my fringe twister, and washing the fabric is easier in our little manual washing machine than by hand, but I still have to really talk myself into doing this step because it’s not as much fun as the warping and weaving. I use the pliers when I tie the fringe knots because my fingers have trouble grabbing the short ends to snug the knots down tight. 90 fringes later and then it gets washed to help the fibers bloom and soften the blanket up, then it dried in the sun.

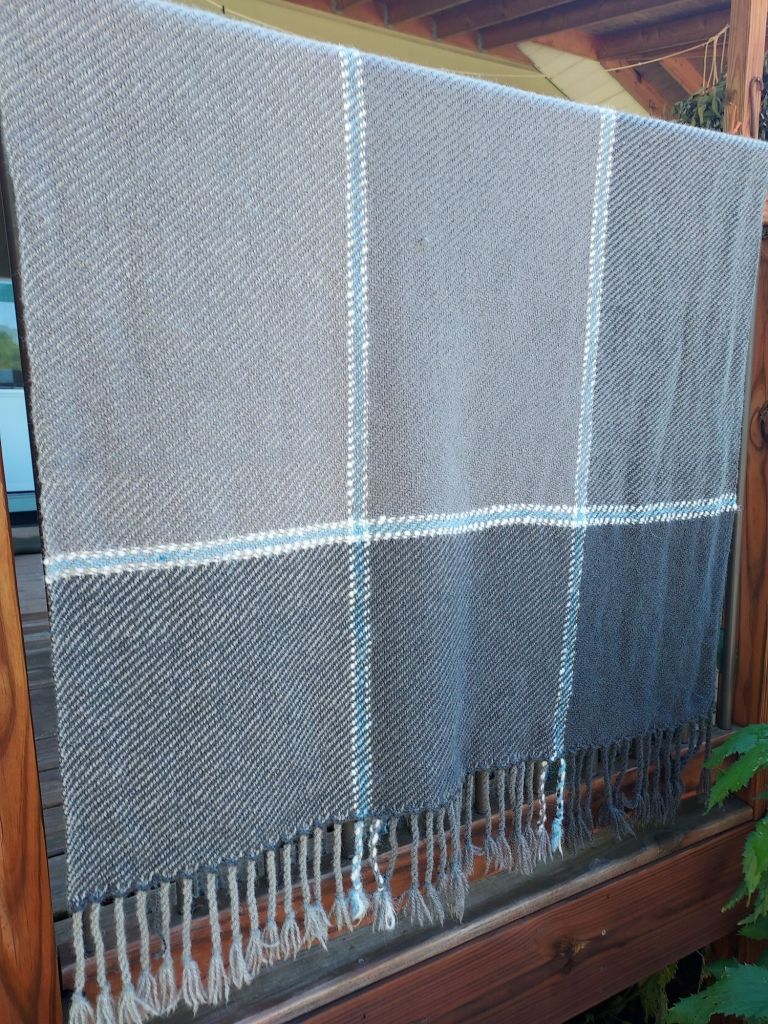
    Step 8: Admire the finished project! My opinion might be biased, but I think a functional and beautiful everyday object that represents over 12 hours of work all done by hand by a real, local human being is something to admire.

    It goes from light, medium, dark across the warp and the same in the weft so the blocks of color change across the blanket. The greys are all 2 or 3 ply rug wools and the white and blue accents are my handspun yarn. This is a medium-softness blanket. It would be a little scratchy on bare skin, but as a blanket it is fantastically durable. It’s cushy without being too bulky, and it’s got a rustic vibe that I think is really gorgeous. It was woven 45″ wide and 72″ long on the loom, and by the time it relaxed from being under tension and then got washed the finished blanket size is 37″ wide by 66″ long which is a great throw blanket size.

    This blanket is ready to go home with some lucky and generous silent auction bidder on Saturday July 18th at the Raise the Roost event!

    See you there! – Shara
  • Weeding & Weaving

    Weeding & Weaving

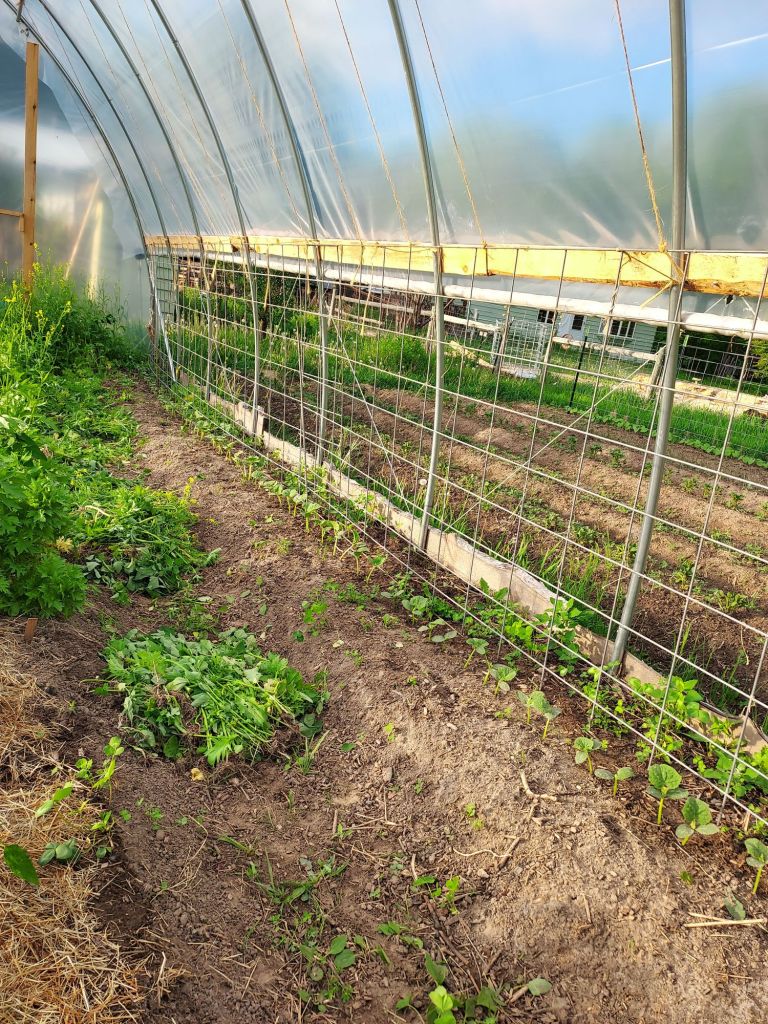
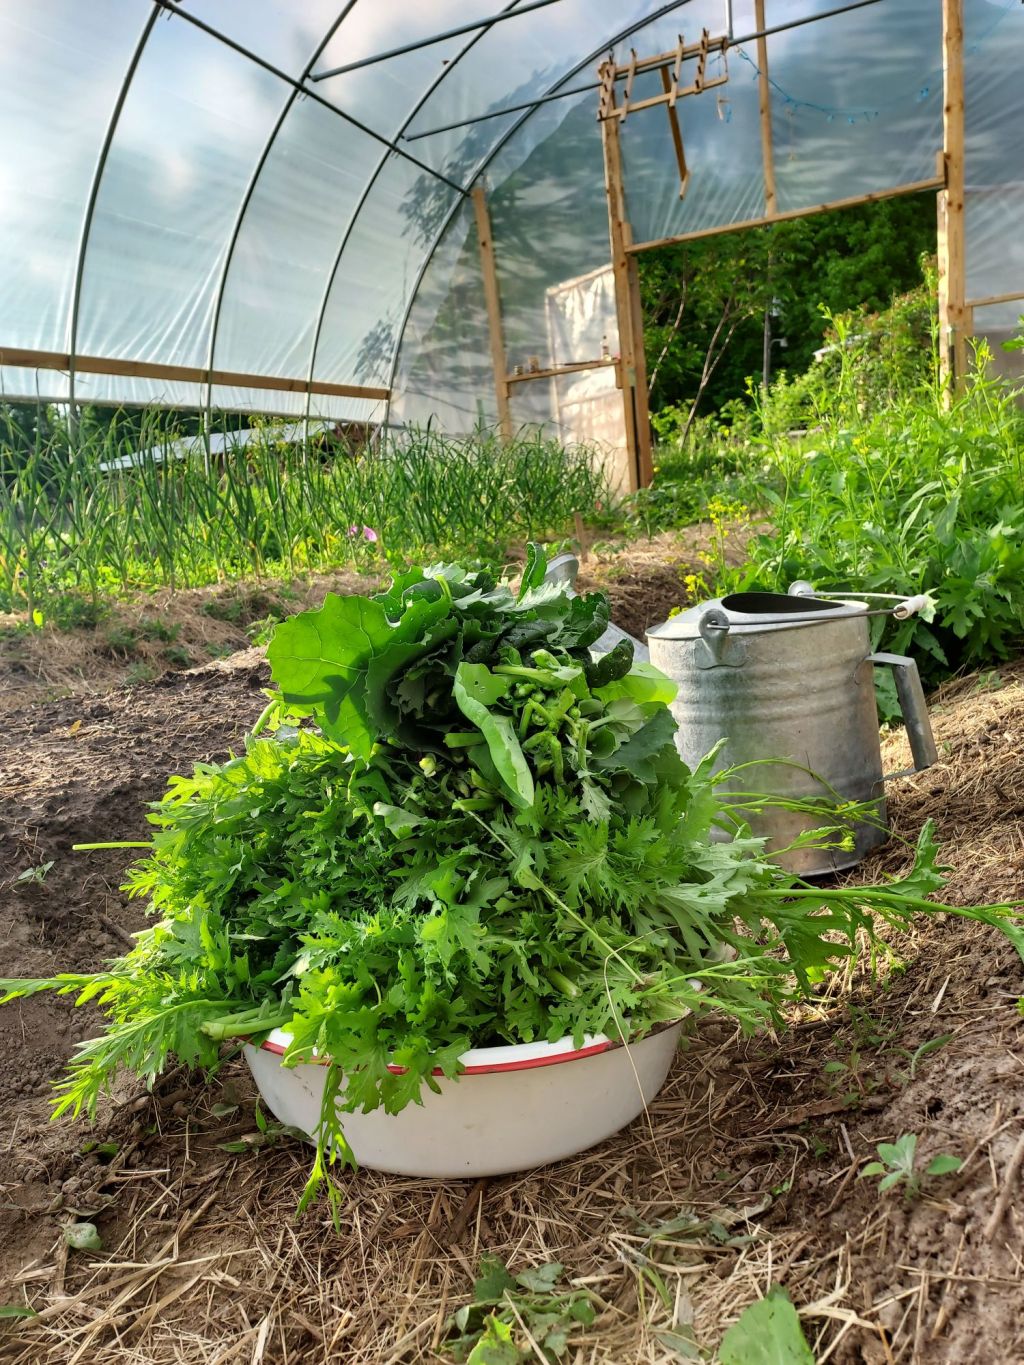
    Weeding and weaving… That’s the name of the game at the farm this week! The hot weather really got the weeds fired up, and most of the mustard greens and radishes already bolted (it was 90 degrees last week and today I lit a fire in the woodstove because 60 degrees with an overcast sky just felt so chilly…)

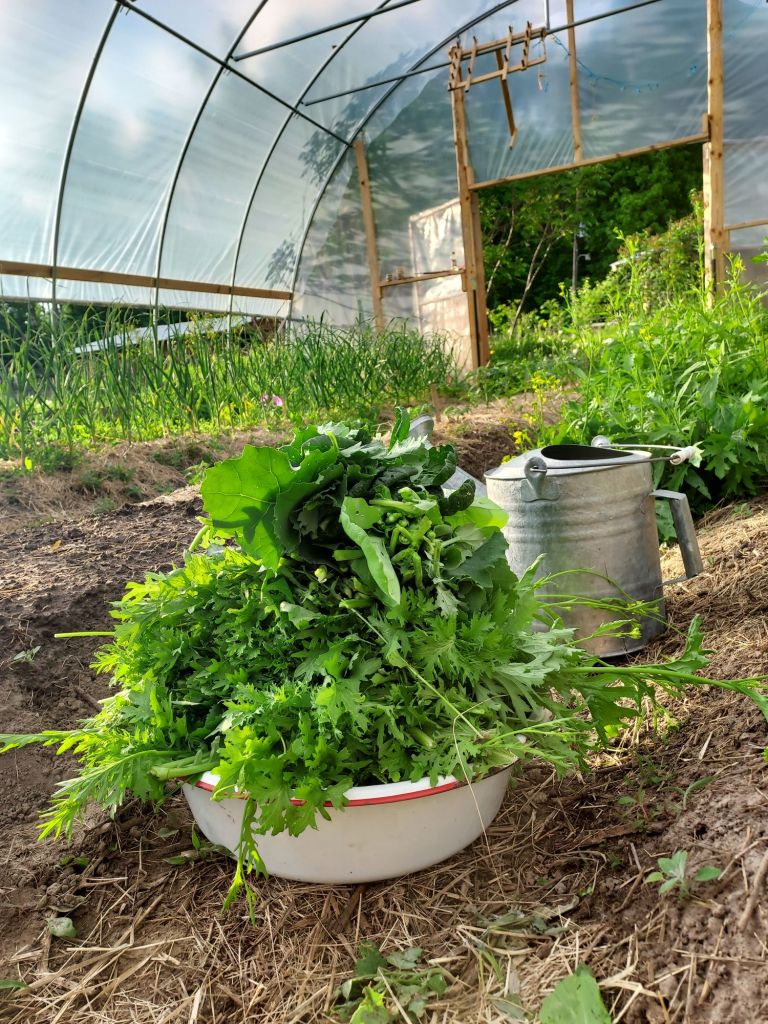
    Anyway, back to the greens: I think the bigger leaves on them are still totally fine to use in cooked dishes as they are less tender for salad greens now. The goats love them too so they don’t go to waste!

    The volunteer mustard from last year was overtaking the cucumbers babies but at least when I was weeding and thinning the cukes, I was able to collect about 8lbs of greens to freeze! We don’t do anything fancy with the greens; just rinse, roughly chop, and pack them a little snugly into canning jars for the freezer. No blanching or pre-freezing in a single layer (ain’t nobody got time for that). Because there’s no liquid in the greens, the jars don’t burst in the freezer and we find a quart is great for a big batch of soup, and a pint of greens works for stir fries and pastas. Just thaw and cook!

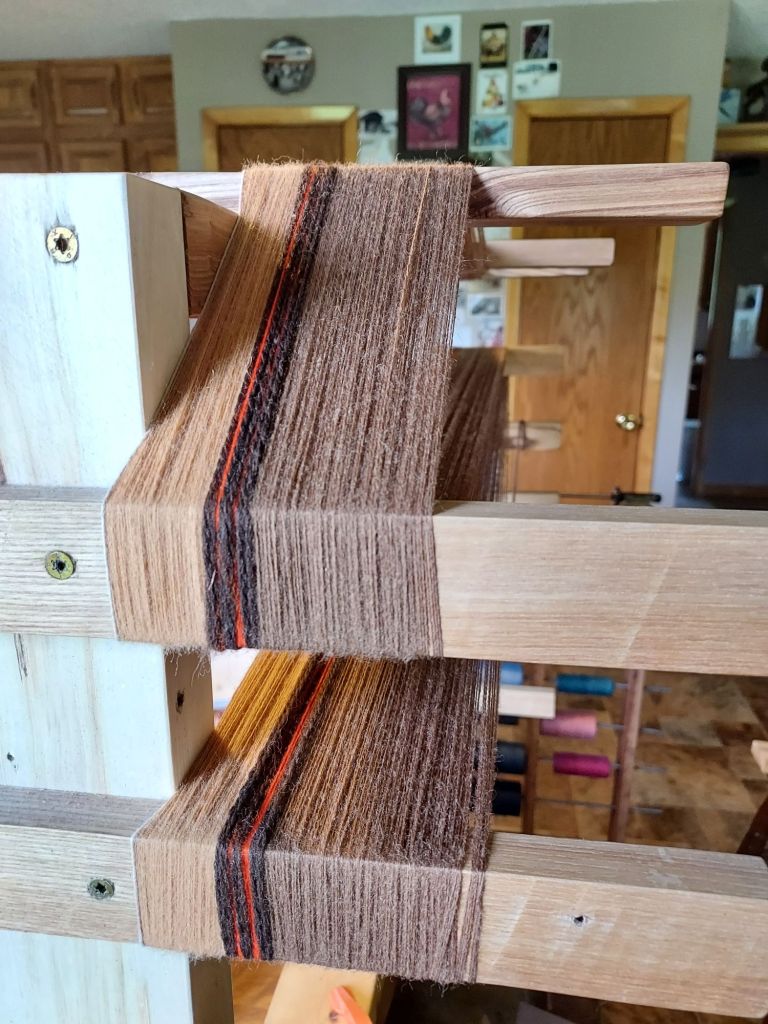
    As for the weaving part of the week, I’ll share more details in another post in a few days when it’s complete. I’m proud to be working on a custom wool shawl for the Free Range Food Co-op‘s silent auction fundraiser next month. Here’s a sneak peak of part of the project on the warping board:

    Enjoy the cooler weather this week, friends!

    -Shara

  • Weaving hand towels: a community ed class!

    Weaving hand towels: a community ed class!

    Have you ever woven cotton yarn into a hand towel to use in your home? This spring I’ve had the joy of teaching people how to do exactly that!

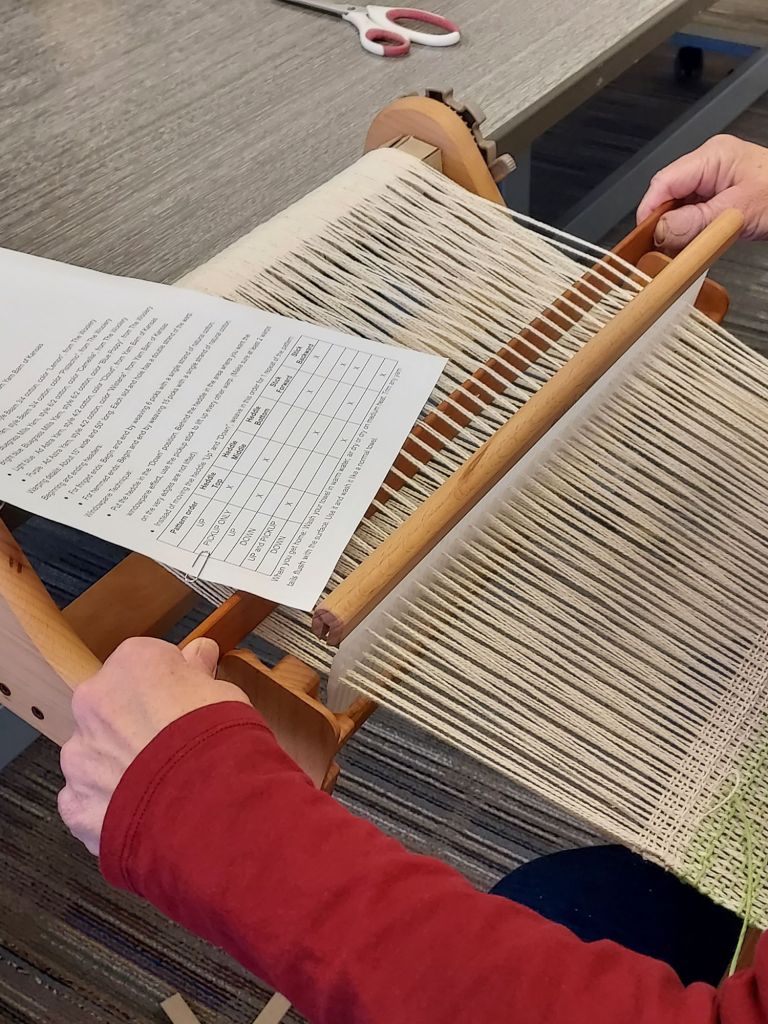
    Some students had no experience with weaving, while others had woven before but wanted to try a new type of project. Using pre-warped 16” Ashford rigid heddle looms and a variety of cotton yarns, class attendees left with a handwoven hand towel to use in their home.

    What does it take to prepare for a class like this? Well, for the attendees, they just have to show up and be ready to learn. Easy peasy! For the teacher, it’s a bit more involved:

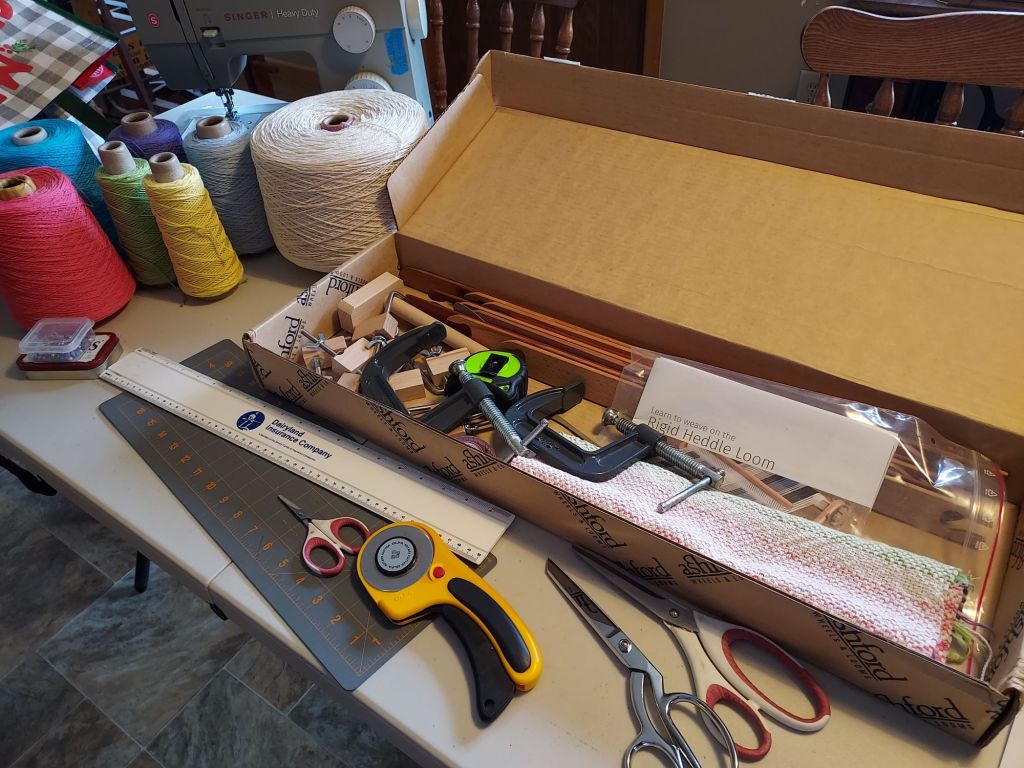
    • I create handouts with info on the looms, yarns, project details, and techniques. I also type up ‘instructor notes’ to keep myself on track.
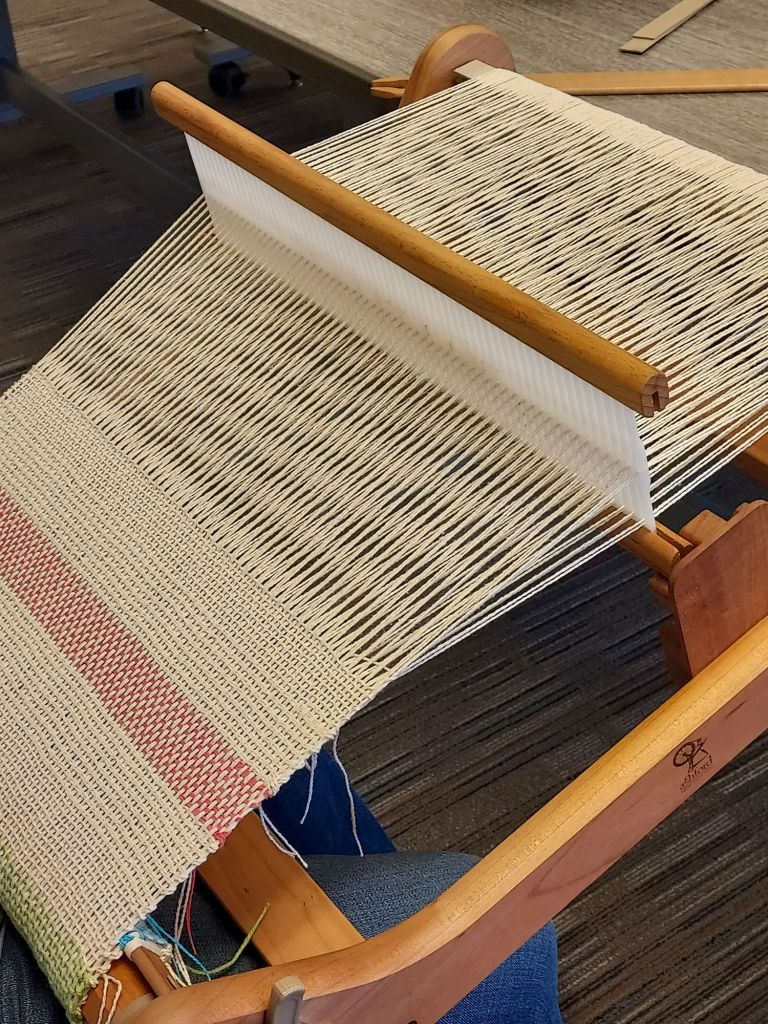
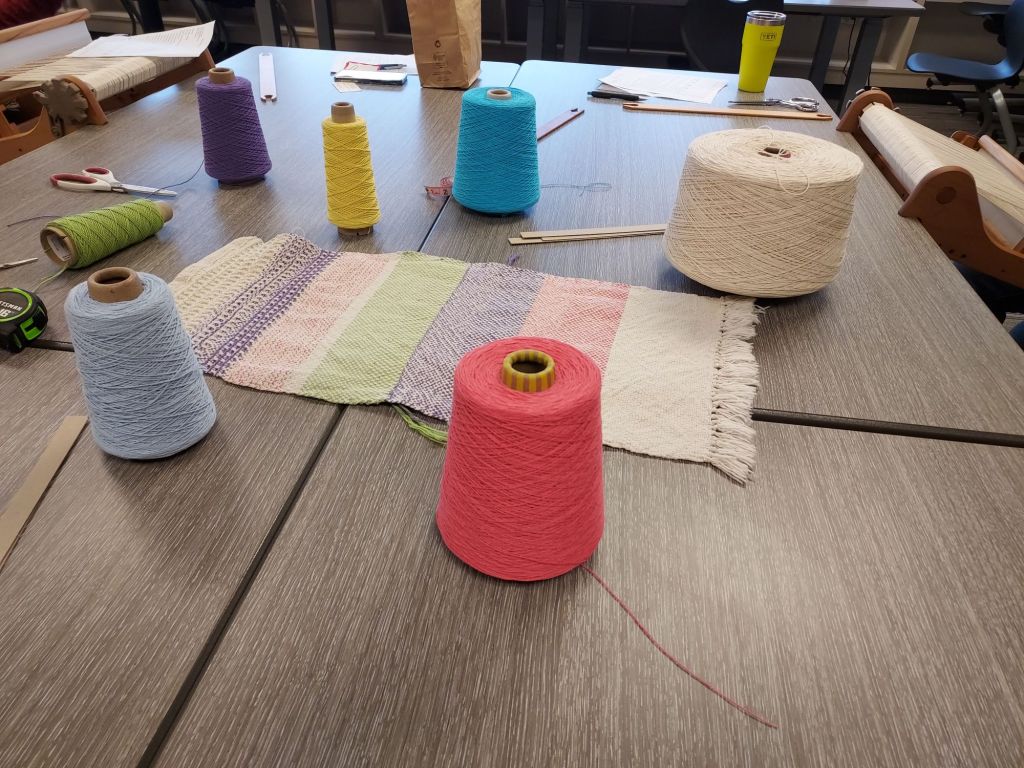
    • The loom for each student gets warped before the class. (Warping means all the ‘vertical’ white yarns that you see in the picture get put onto the looms ahead of time. In class the students weave in the weft ‘horizontal’ yarns.) The warping process takes about 1.5 hours per loom.
    • All the yarns get purchased and packed along with all the clamps, shuttles, pick-up sticks, scissors, pins, needles, the sewing machine for hems, etc.
    • On the day of class there’s about an hour of setup and an hour of clean up.

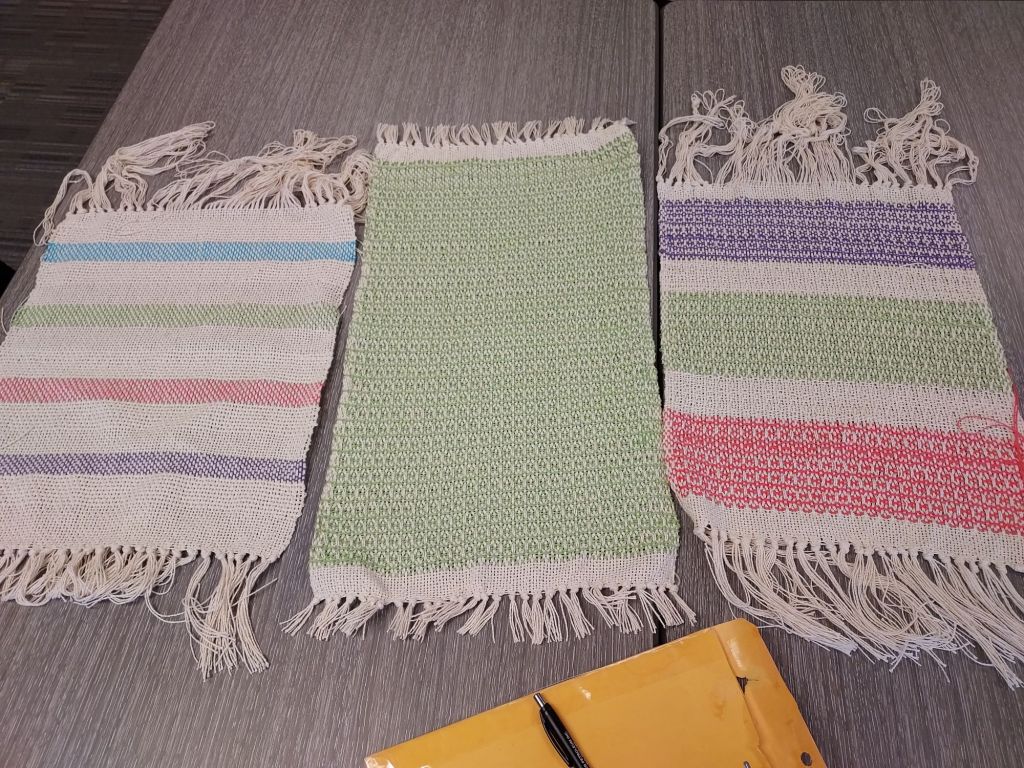
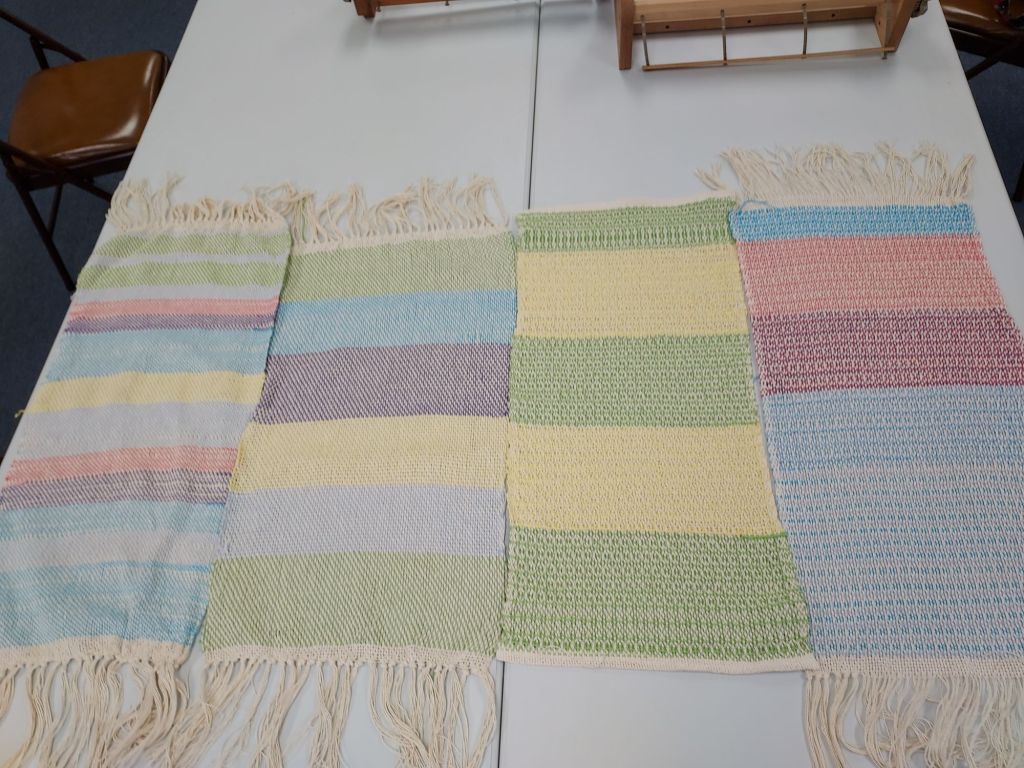
    Even though the warp yarn is all natural colored cotton, there are still endless ways of weaving the weft yarn in to create a fun pattern! Since these classes were held in springtime, I bought yarns in a spring color palette. Folks had the option of weaving either a plain over-under weave or trying a more complicated pick-up stick windowpane pattern using any combination of patterns or colors they wanted. Take a look at the variety of towel designs woven with just 2 pattern and 7 color options!

    I brought the sewing machine along to sew the hems, but many chose to knot the fringes on their towels instead. Either option works, though knotted fringes do have a tendency to wear out with very frequent use just because the ends of the strings fray over time. But it does lend a beautiful homemade touch!

    When I was learning to weave I never thought I would get to the point of being able to teach others… not only did I feel like I didn’t know ‘enough’ to teach, but I was always the shy kid in school who would rather go live under a rock instead of doing any kind of public speaking. Through teaching my family and friends about weaving I realized I was able to share the joy I find in the craft with others by showing them how to do it too. It is so exciting to teach someone how to use simple tools to turn yarn into fabric and hear them say “oh my gosh, I’m making fabric! This is so cool!”.

    Yeah, it really is so cool!

    These weaving classes were hosted through the Itasca Area Schools Collaborative and their Community Education program. New classes are held twice a year in a wide variety of topics, and I’ve had a lot of fun teaching through their community ed program.

    I also offer individual or small group lessons for specific projects, or can help tailor an intro-to-weaving program for a larger group like I did with the Deer River High School art class students this spring. Get in touch and let’s weave! -Shara

  • First Friday Art Walk – June 2025

    First Friday Art Walk – June 2025

    Every month on the first Friday, Grand Rapids hosts an art walk in the downtown area near Old Central School. We had the privilege of attending as artists on behalf of Free Range Food Co-op on June 6th.

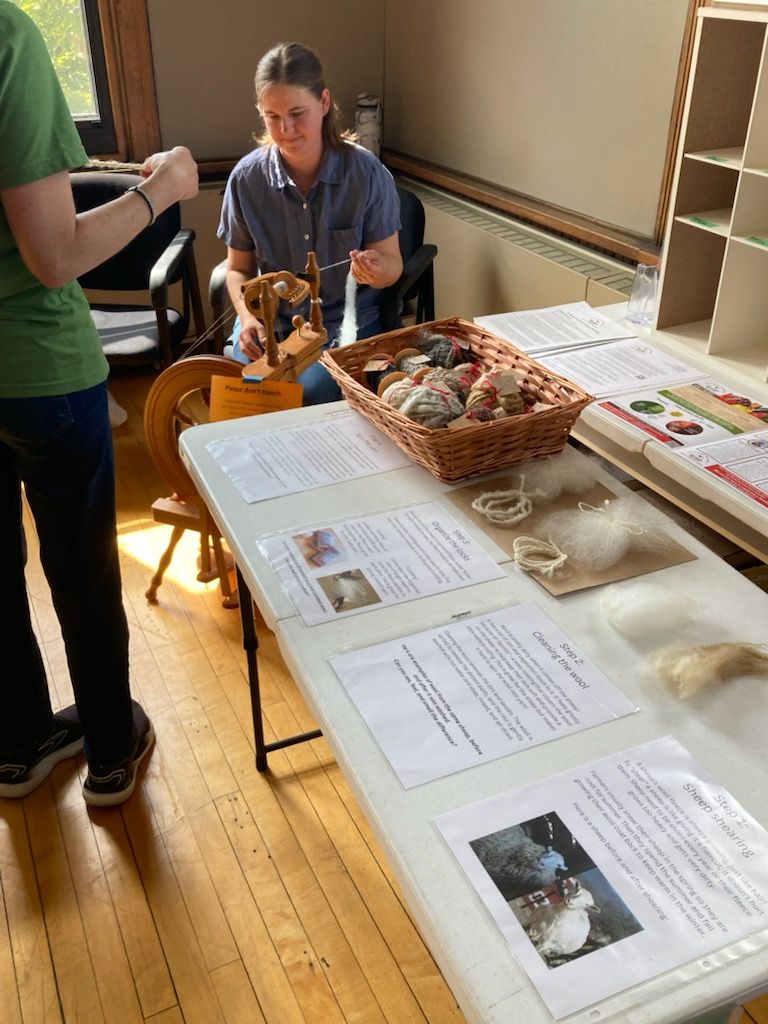
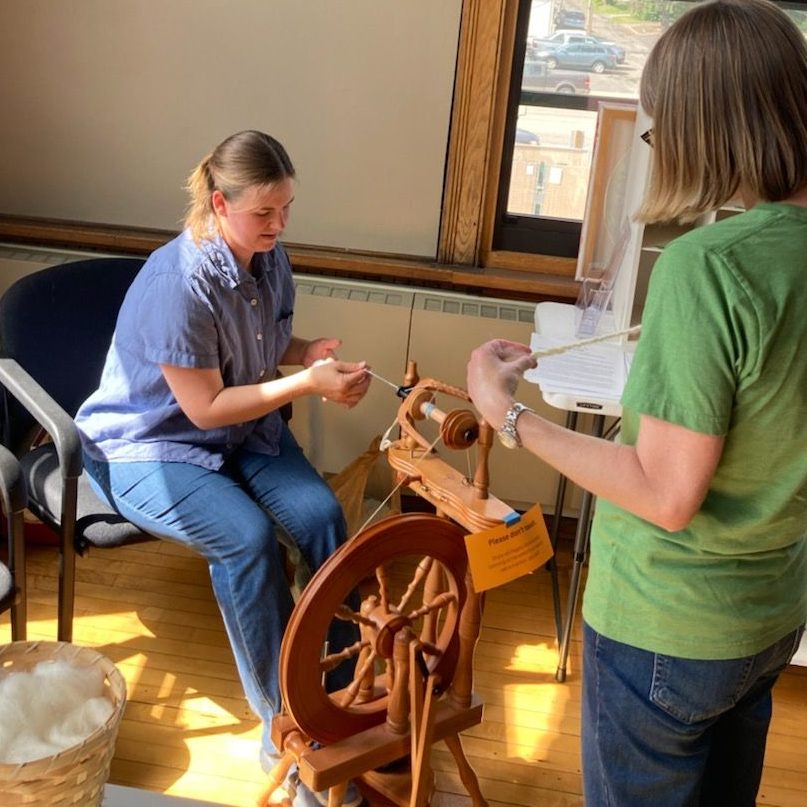
    Fiber preparation table with Shara spinning yarn in the background

    There was an educational table introducing visitors to the process of harvesting, washing, and preparing wool. We had a basket of hand-spun yarn samples made by Shara to show different textures and sizes.

    We demonstrated spinning on the new Ashford Traveler wheel, which was a big hit. Having a handcraft in motion seems to invite conversation and questions about what’s going on.

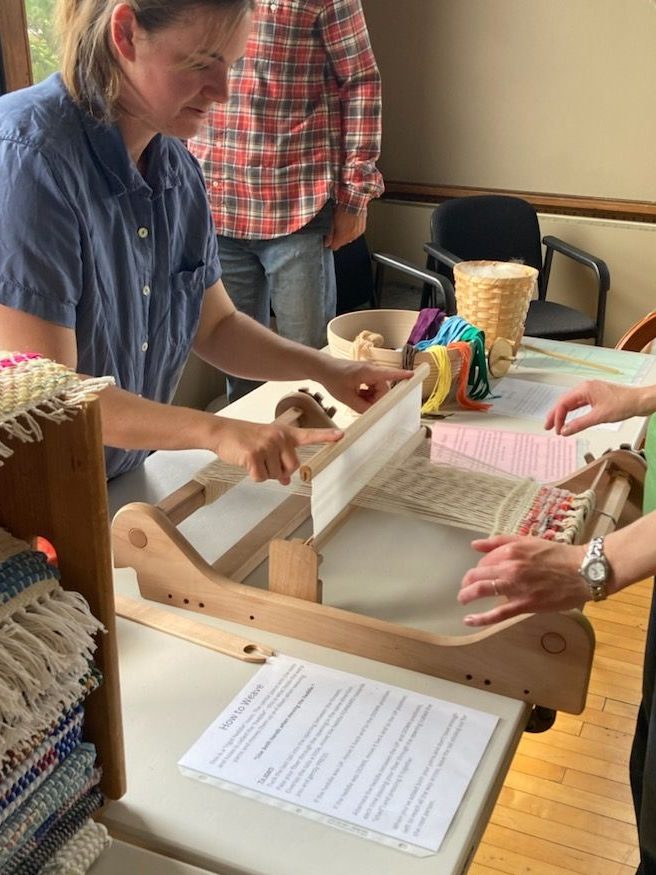
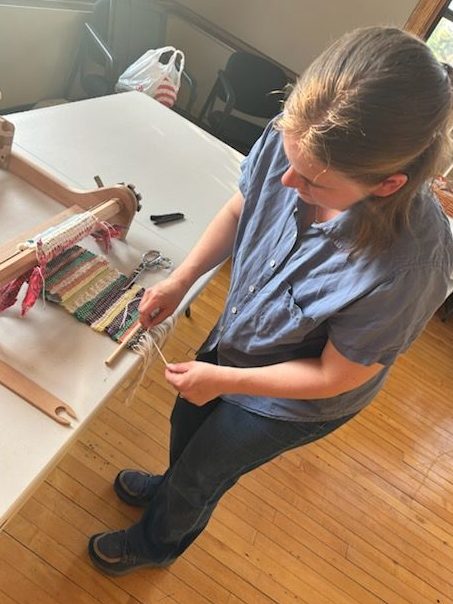
    Free Range Food Co-op is working to open a community owned grocery store right now, so we also had a “community weave” project where visitors could add a few pieces of fabric or yarn to a small wall-hanging project on the rigid heddle loom. It symbolizes the process of combining smaller pieces into a larger, more beautiful and impactful community project.

    Tables set up at a craft fair

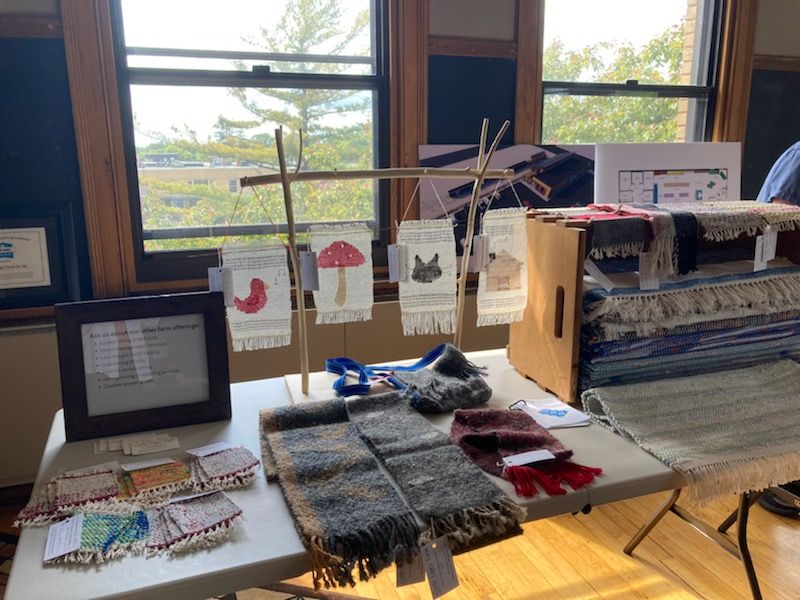
    The budding inventory of wool scarves, cotton rugs, and decorative transparent tapestries available for sale on display at the art fair.

    Check out our Fiber Craft page for more information on spinning or weaving lessons. Contact Shara to see what’s available for sale or to discuss a custom project.